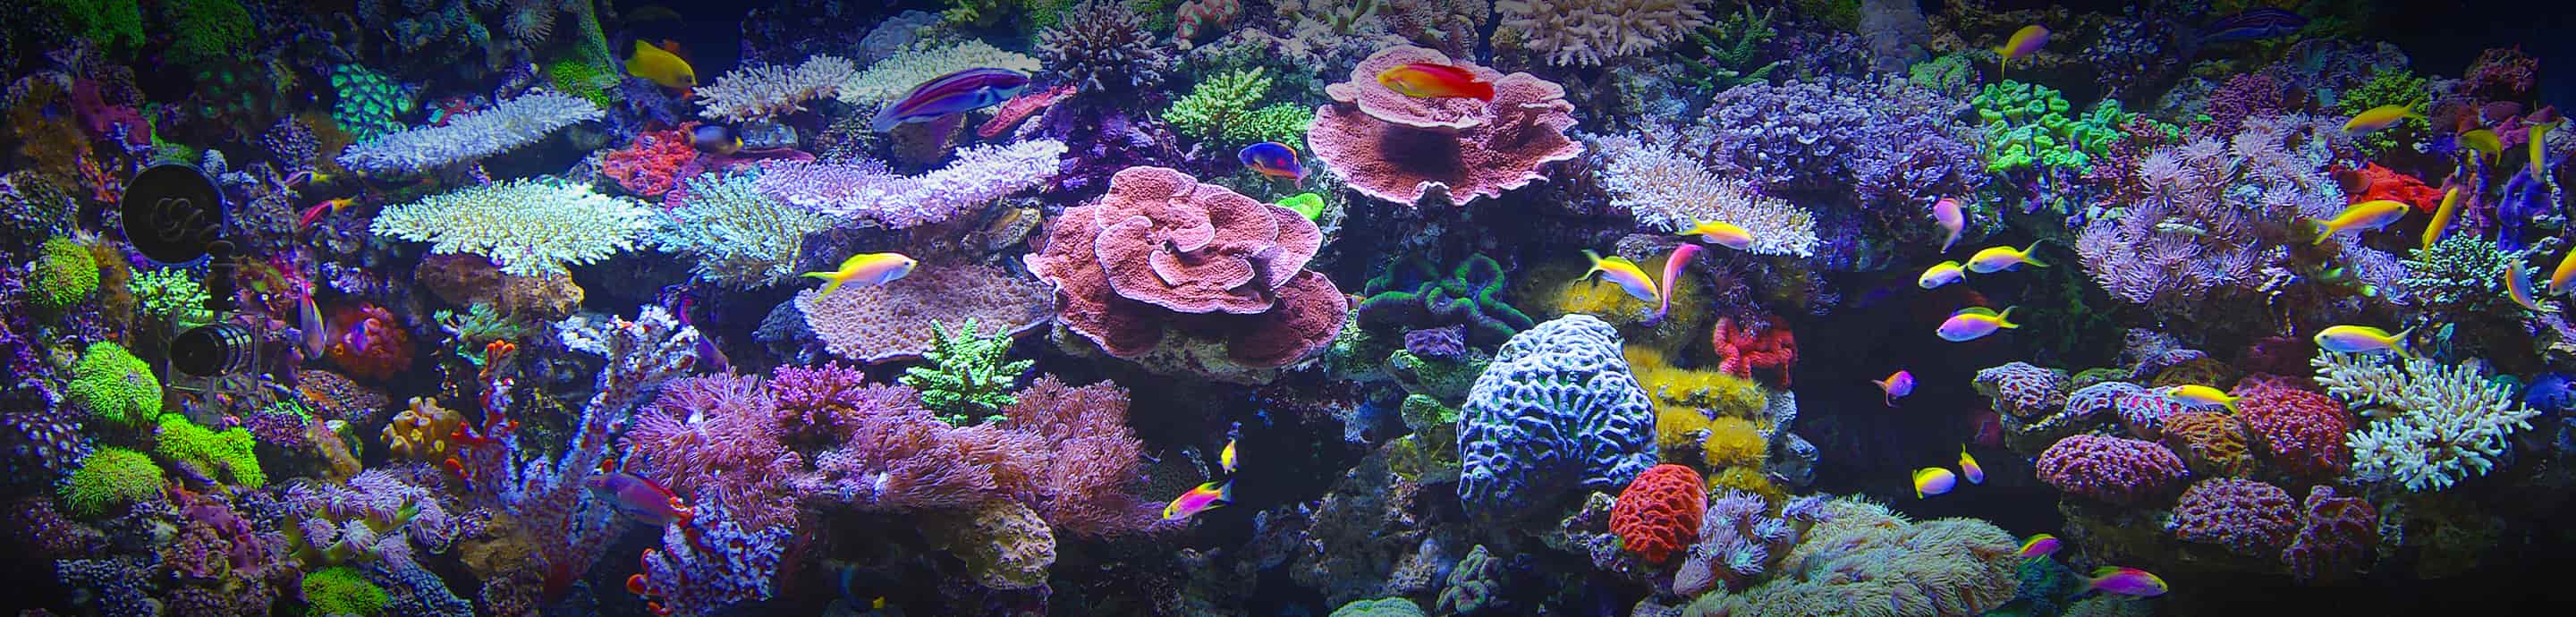

I thought I'd post a quick run through on how I'm building my Dual 125 gallon aquarium stand. Originally I was going to setup one tank as freshwater and one as saltwater, both using 55 gallon aquariums as refugiums, but that takes up a lot of space and the wife wasn't really too excited about losing that much wall space. So I decided to go this route. Basically, the upper tank will be the display tank and that bottom will be a refuguim. Both tanks will have live plants with the refugium housing a UV filter, bio media. Heater, pump and so on (I'll add pic's as I go).
The stand is designed so that the overflows and return lines are hidden in the sides of the stand.
Any input regarding any part of this build is appreciated and I'll do my best to answer any questions.
So, here goes:
First, the glue and screws I used for this project:

Starting the base, 2x4 construction:

All corners are glued and screwed. Drilling pilot holes in the boards you're attaching allows the screw to suck the boards tight to each other:


2x4 base assembled:

These boards, inside the frame, help align the top and bottom frames:

These corner boards keep take the weight of the tank and transfer it straight to the floor:


Top frame made the same way as the lower, but I used 2x6's:

I've applied the glue to the back of the frame and need to spread the glue BEFORE attaching the plywood. Very important step when gluing plywood or any wood for that matter. Spread the glue so you have 100% coverage of the area being glued:

The back panel is glued and attached with Sheetrock screws:

Front view of the base with back on:

Because I don't want a center support to block the viewing of the bottom tank (refuguim) I'm adding a couple of arched supports to transfer the load of the upper tank to the legs. This is the mains support that goes in behind the 2x6 on the front of the stand, it's made from 3/4" plywood and glued and screwed to the back side of the 2x6:

Very important step to get the most of strength from your glue joint. Spread the glue!:

Base with the 3/4" plywood arch support installed:

Installing the 1/2" plywood on the bottom of the base.

The back support consists of two 2x6's stacked one on the of the other, glued and screw to a 1/2" plywood full back panel and a 3/4" plywood web on the front:

Base with the 3/4" plywood supports installed for front and back 2x6's:

Back of the base with plywood glued and screwed:

Show front and back supports:

Cutting the 1/2" maple veneer plywood front support. This covers the entire front of the base:

Dry fit the panel and trace the outline of the frame onto the panel. This will show you where to spread the glue. A plastic putty knife works great for spreading glue. The glue peals easily off the putty knife once dry:

Showing the glue spread out:

Base with front plywood face support installed:

I used a flush trim router bit to trim the inside of the front plywood face flush to the frame:


1/2" front panel installed and routed:

The design of the cabinet calls for the legs to go the full height of the cabinet. The only problem is the cabinet would be to tall to fit in the house door if the legs are the full 84" tall. So I made the hood detachable and put a brake in the legs. By adding this rabbit detail on the tops of the base part of the legs, it make alignment of the hood part of the legs easier(It's make more sense later):


The plywood behind the display tank is a .2" thick underlayment. I cut dado's in the back legs to accept the underlayment. I used a scrap piece of the .2" thick underlayment to help align the dado cut into the back legs to the back edge of the 3/4" plywood top. This will allow me to fasten the plywood underlayment to the back of the 3/4" plywood top and in the dado's:


Base with legs installed:


A 1/2" plywood spacer was put behind the front legs to give the legs depth:

Front leg with 1/2" plywood spacer behind it:

The leg on the base goes up to the bottom of the top plastic band on the aquarium:

Installing the .2” thick underlayment back panel:


Both of the back legs have a dado for the back panel to be glued into:

I made some little supports to help align the front panel:


A large rabbit is cut into the back of the top and bottom rails and both stiles for front panel:

Here you can see how the rabbit on the back of the top rail fits the front panel:

Front panel alignment dowel:

Use a Japanese saw to trim the dowels:

Front panel alignment hole for dowels in base:

I use dowels to help align the front panel when installing (it’s the blurry thing in the middle of the picture):

Front panel installed:

1/4-20 Flathead screw that holds the front panel on:

The base has 1/4-20 brass threaded inserts for the front panel to bolt to:


Side cross rail installed. The cross rails have a rabbit cut into the back for the removable side panel:


Starting the hood framing:


Adding the plywood lid to the hood:


Back of the base and hood:

Removable side panel, still need to make:

Test fitting the tanks. This is the top cover on the front of the hood; it’s made the same way as the front panel:

The front panel on the hood:

The entire top opens to allow easy access to equipment:

Piano hinge on the hood:

Here the top panel is closed; the front panel and kick plate are installed. Almost done!:

By removing the front and side panels and lifting the top cover, I gain full access to both tanks:


Well, that's where I'm at so far. I'll post updates as I go.
The stand is designed so that the overflows and return lines are hidden in the sides of the stand.
Any input regarding any part of this build is appreciated and I'll do my best to answer any questions.
So, here goes:
First, the glue and screws I used for this project:
Starting the base, 2x4 construction:
All corners are glued and screwed. Drilling pilot holes in the boards you're attaching allows the screw to suck the boards tight to each other:
2x4 base assembled:
These boards, inside the frame, help align the top and bottom frames:
These corner boards keep take the weight of the tank and transfer it straight to the floor:
Top frame made the same way as the lower, but I used 2x6's:
I've applied the glue to the back of the frame and need to spread the glue BEFORE attaching the plywood. Very important step when gluing plywood or any wood for that matter. Spread the glue so you have 100% coverage of the area being glued:
The back panel is glued and attached with Sheetrock screws:
Front view of the base with back on:
Because I don't want a center support to block the viewing of the bottom tank (refuguim) I'm adding a couple of arched supports to transfer the load of the upper tank to the legs. This is the mains support that goes in behind the 2x6 on the front of the stand, it's made from 3/4" plywood and glued and screwed to the back side of the 2x6:
Very important step to get the most of strength from your glue joint. Spread the glue!:
Base with the 3/4" plywood arch support installed:
Installing the 1/2" plywood on the bottom of the base.
The back support consists of two 2x6's stacked one on the of the other, glued and screw to a 1/2" plywood full back panel and a 3/4" plywood web on the front:
Base with the 3/4" plywood supports installed for front and back 2x6's:
Back of the base with plywood glued and screwed:
Show front and back supports:
Cutting the 1/2" maple veneer plywood front support. This covers the entire front of the base:
Dry fit the panel and trace the outline of the frame onto the panel. This will show you where to spread the glue. A plastic putty knife works great for spreading glue. The glue peals easily off the putty knife once dry:
Showing the glue spread out:
Base with front plywood face support installed:
I used a flush trim router bit to trim the inside of the front plywood face flush to the frame:
1/2" front panel installed and routed:
The design of the cabinet calls for the legs to go the full height of the cabinet. The only problem is the cabinet would be to tall to fit in the house door if the legs are the full 84" tall. So I made the hood detachable and put a brake in the legs. By adding this rabbit detail on the tops of the base part of the legs, it make alignment of the hood part of the legs easier(It's make more sense later):
The plywood behind the display tank is a .2" thick underlayment. I cut dado's in the back legs to accept the underlayment. I used a scrap piece of the .2" thick underlayment to help align the dado cut into the back legs to the back edge of the 3/4" plywood top. This will allow me to fasten the plywood underlayment to the back of the 3/4" plywood top and in the dado's:
Base with legs installed:
A 1/2" plywood spacer was put behind the front legs to give the legs depth:
Front leg with 1/2" plywood spacer behind it:
The leg on the base goes up to the bottom of the top plastic band on the aquarium:
Installing the .2” thick underlayment back panel:
Both of the back legs have a dado for the back panel to be glued into:
I made some little supports to help align the front panel:
A large rabbit is cut into the back of the top and bottom rails and both stiles for front panel:
Here you can see how the rabbit on the back of the top rail fits the front panel:
Front panel alignment dowel:
Use a Japanese saw to trim the dowels:
Front panel alignment hole for dowels in base:
I use dowels to help align the front panel when installing (it’s the blurry thing in the middle of the picture):
Front panel installed:
1/4-20 Flathead screw that holds the front panel on:
The base has 1/4-20 brass threaded inserts for the front panel to bolt to:
Side cross rail installed. The cross rails have a rabbit cut into the back for the removable side panel:
Starting the hood framing:
Adding the plywood lid to the hood:
Back of the base and hood:
Removable side panel, still need to make:
Test fitting the tanks. This is the top cover on the front of the hood; it’s made the same way as the front panel:
The front panel on the hood:
The entire top opens to allow easy access to equipment:
Piano hinge on the hood:
Here the top panel is closed; the front panel and kick plate are installed. Almost done!:
By removing the front and side panels and lifting the top cover, I gain full access to both tanks:
Well, that's where I'm at so far. I'll post updates as I go.


